
Deploy PocketBase on Railway
I have been itching to try out Railway for some time now. Along the same time, I heard about PocketBase which is a lightweight Firebase alternative that uses sqlite3 as the database. The best apart about PocketBase is that it is open source and free to use. I figured this would be a great opportunity to try out Railway and PocketBase.
The only thing stopping me from using PocketBase was because Railway didn’t have support for persistant volumes. This meant that everytime the container restarted, the data would be lost. A little bit of lurking later, I found that it was on the Roadmap. A few months later, Railway released support for persistant volumes. I was super excited and decided to write this tutorial to help others get started.

Pre-requisites
- Github Account
- Railway Account (obviously 😉)
Initial Setup
To get started, we need to create a new Github repository. I have created a [template](INSERT LINK HERE) that you can use to get started. In this empty repository, we will create a single Dockerfile that will be used to build the PocketBase image.
Create a new file called Dockerfile and add the following contents:
FROM alpine:3 as downloader

ARG TARGETOS
ARG TARGETARCH
ARG VERSION=0.16.10

ENV BUILDX_ARCH="${TARGETOS:-linux}_${TARGETARCH:-amd64}"

# Install the dependencies
RUN apk add --no-cache \
    ca-certificates \
    unzip \
    wget \
    zip \
    zlib-dev

RUN wget https://github.com/pocketbase/pocketbase/releases/download/v${VERSION}/pocketbase_${VERSION}_${BUILDX_ARCH}.zip \
    && unzip pocketbase_${VERSION}_${BUILDX_ARCH}.zip \
    && chmod +x /pocketbase

FROM scratch

EXPOSE 8090

COPY --from=downloader /pocketbase /usr/local/bin/pocketbase
CMD ["/usr/local/bin/pocketbase", "serve", "--http=0.0.0.0:8090", "--dir=/pb_data", "--publicDir=/pb_public"]
This dockerfile is a multi-stage build. The first stage downloads the PocketBase binary and the second stage copies the binary to the scratch image. This is the recommended way to build images as it reduces the size of the image.
The total size of the image is 47.79MB, which is nice and small! 😲
Commit the changes and push the code to Github.
Deploying to Railway
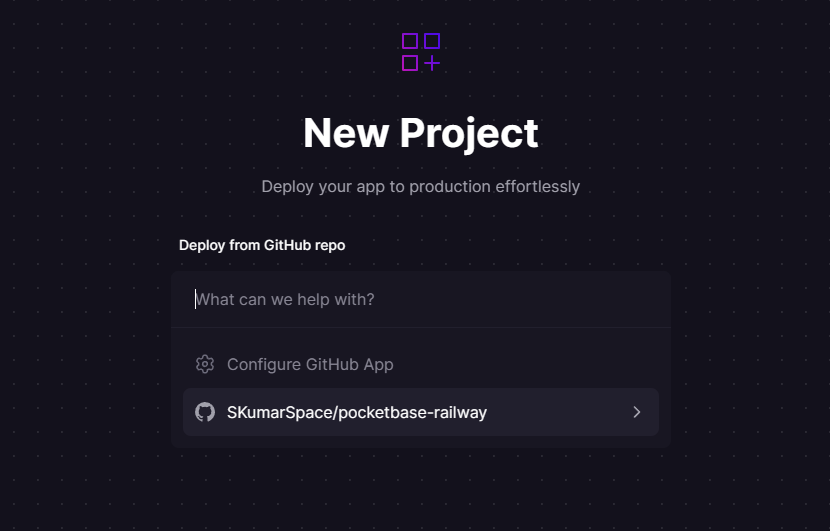
Now that we have the Dockerfile, we can deploy it to Railway. Login to Railway and create a new project. I have named mine pocketbase-railway.
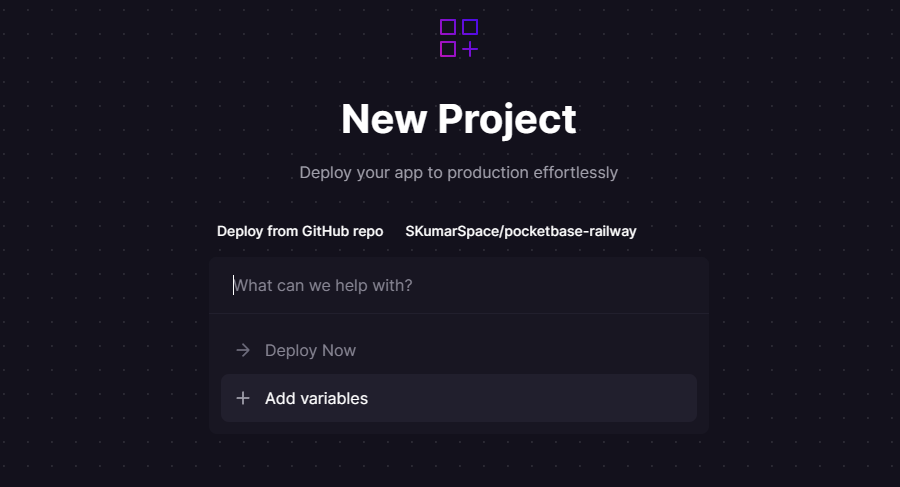
Select “Add variables”
We will add a variable called PORT and set the value to 8090. This is the port that PocketBase will be listening on.
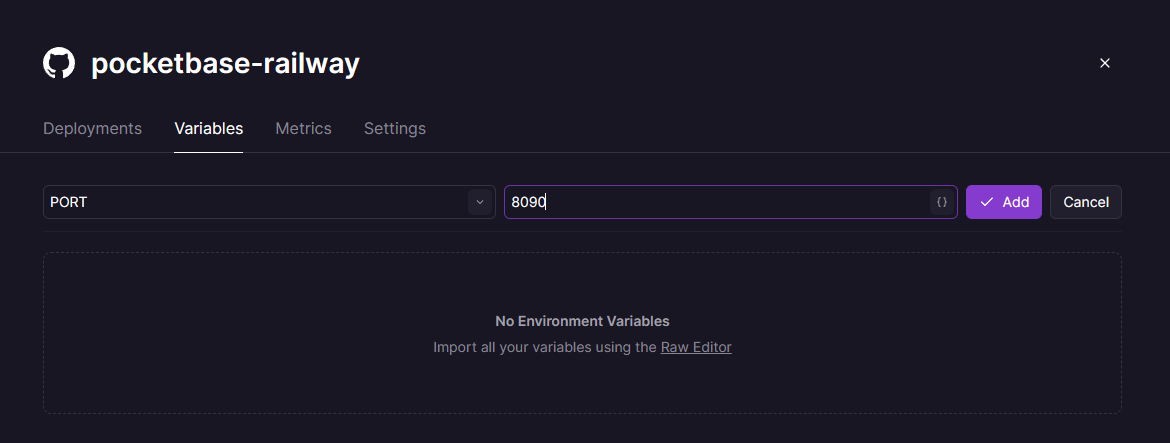
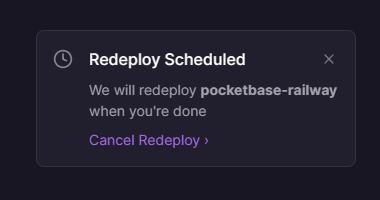
Adding this variable will automatically expose the port to the outside world. Railway will automatically schedule a redeploy of the container.
Now let’s add a domain to our project. We won’t go into using a custom domain in this tutorial but you can check out the Railway docs for more information. From the project settings, click on “Settings” and then “Generate Domain”.
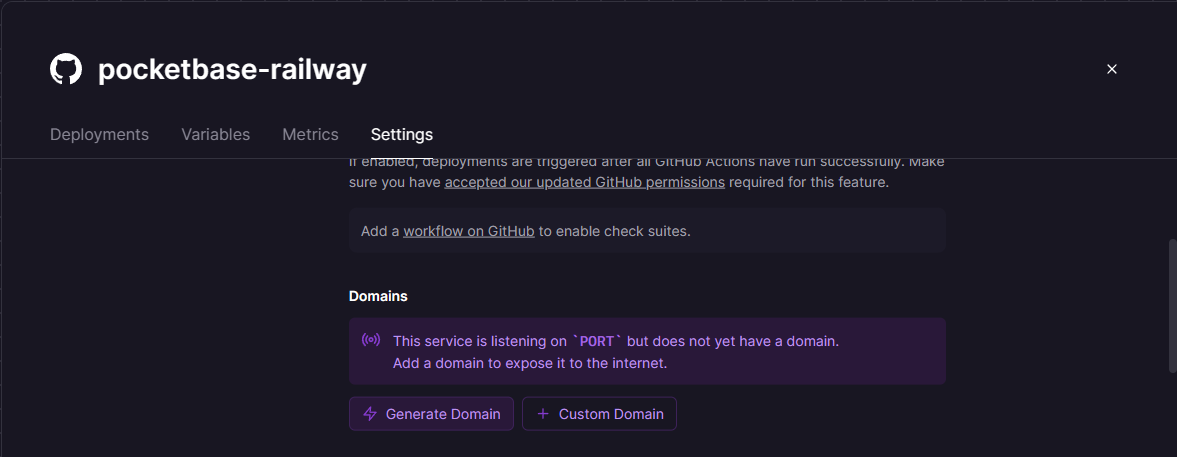
This will generate a random domain for your project. You will need to wait a bit for everything to click. Should not take that long though🤗.
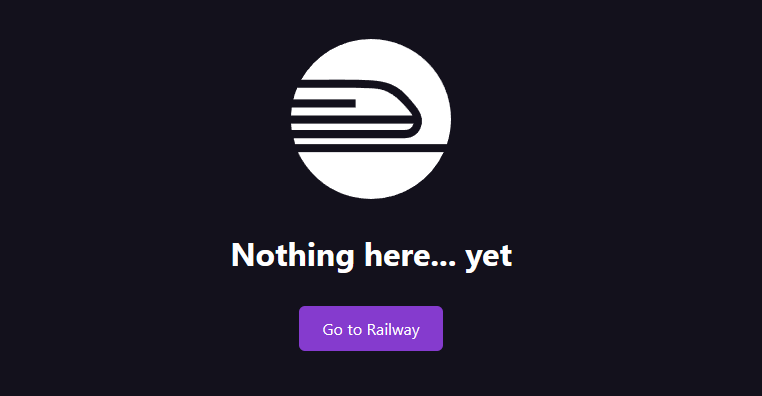
Once everything is ready, you should see the PocketBase “welcome” page.
This is all great so far… We can go to the PocketBase Admin Screen and Sign up. But the issue (that I mentioned earlier) is that the data will be lost when the container restarts. We need to add a persistant volume to the container.
Adding a Persistant Volume
The full docs are available here: Railway Volume Docs
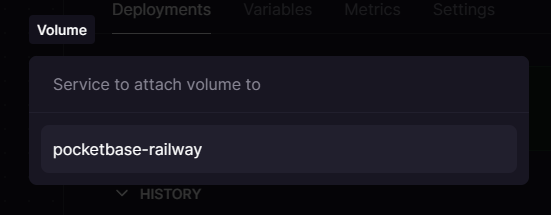
To create a new volume, we need to bring up the Command Palette (⌘K) and select “Create Volume”.
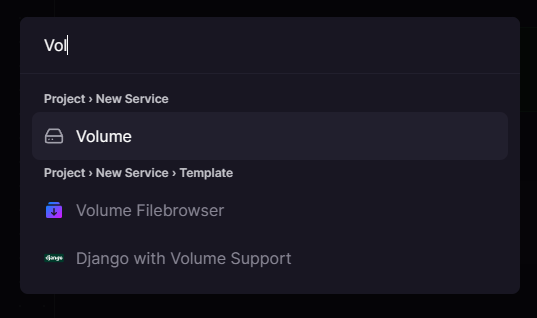
Then, we will select the project. In this case, it is pocketbase-railway.
For the Volume mount path, we will use /pb_data. This is the same path that we used in the Dockerfile.
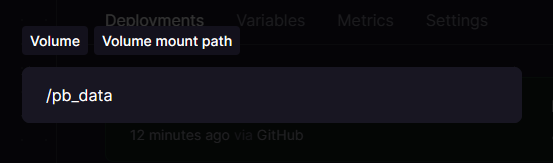
Adding this volume will automatically schedule a redeploy of the container.
Once the container is redeployed, we can go back to the PocketBase Admin Screen and Sign up. This time, the data will be persisted (Yay!).
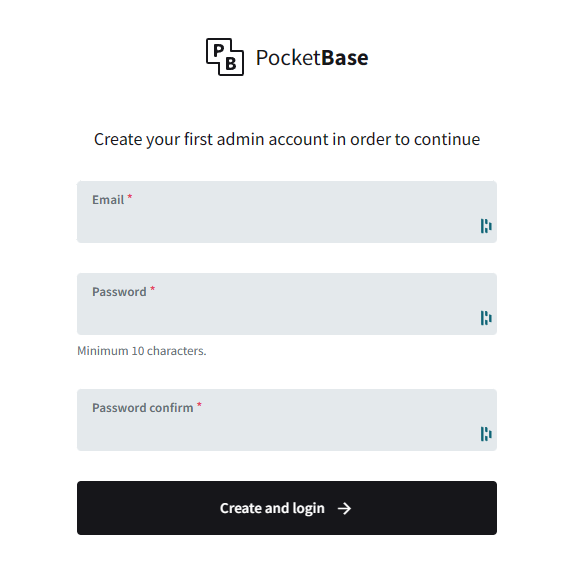
PocketBase Setup
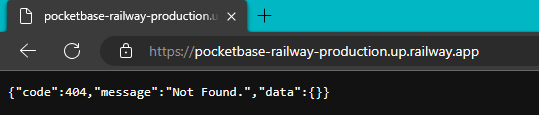
Navigate to the PocketBase Admin Screen and Sign up. The URL will be https://<your-railway-domain>/_/. In my case, it is https://pocketbase-railway-production.up.railway.app/_/.
Litmus Test
Now that we have everything setup, let’s do a quick test to make sure everything is working as expected. Specifically, we will be testing the persistant volume.
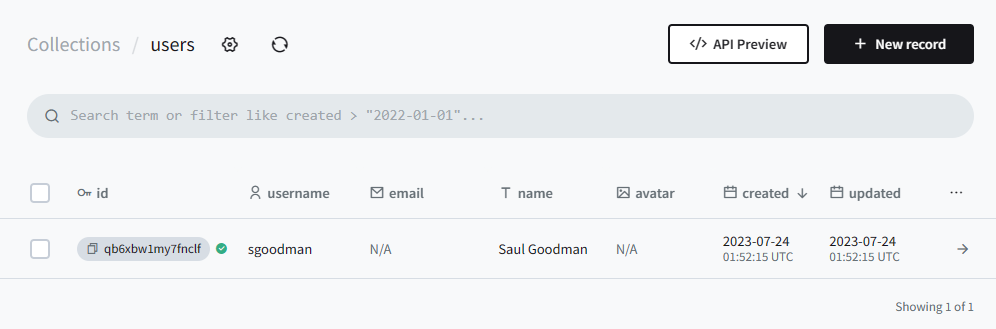
To do this, we will create a new user. Then we will restart the container and make sure that the user is still there.
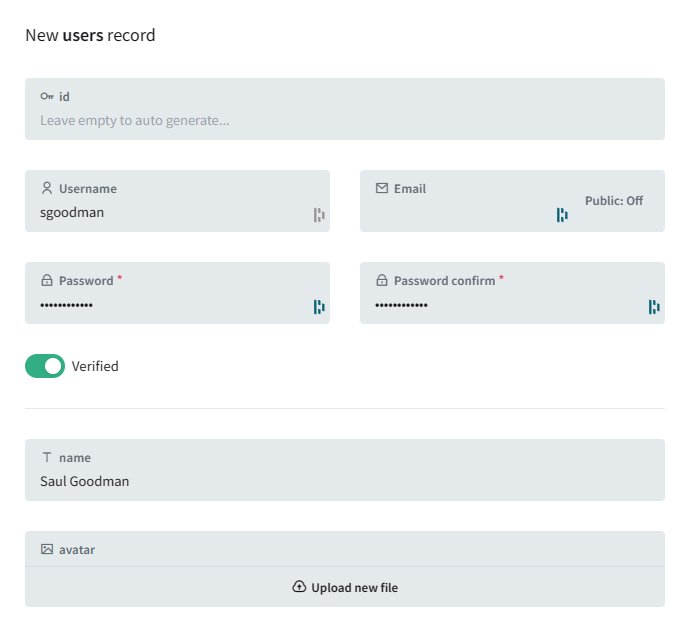
The User is created successfully.
Now back to the Railway Dashboard. We will redeploy the container. To do this, we will click on the “Deployments” tab and select the current deployment. Click the three vertical dots and select “Redeploy”.

Once the container is redeployed, we will go back to the PocketBase Admin Screen and make sure that the user is still there.
The source code used in this tutorial is available on GitHub.